

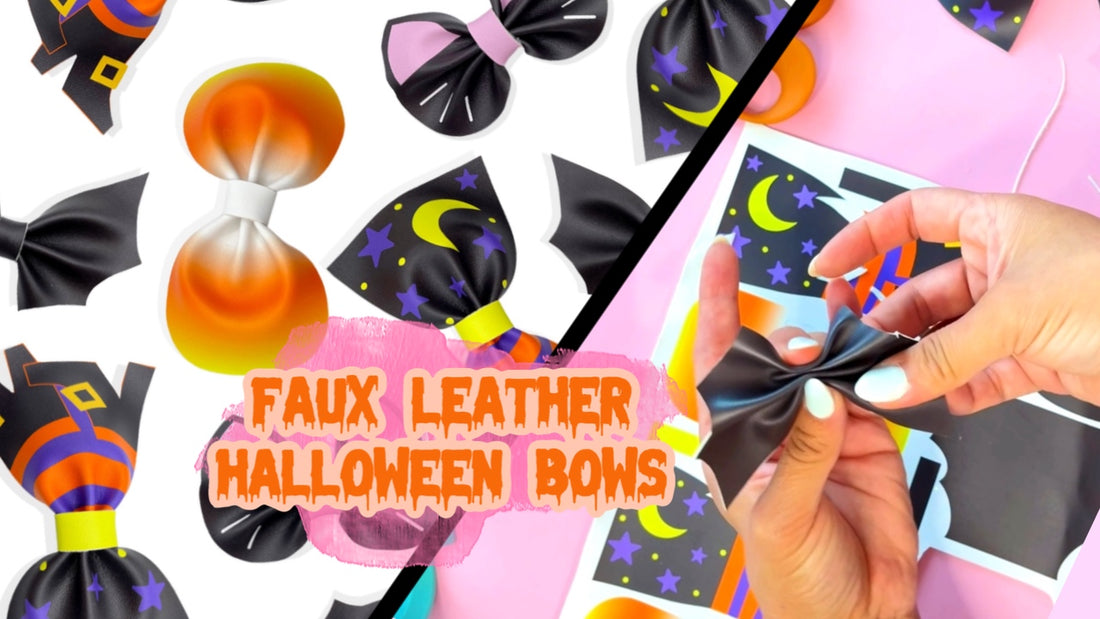
Halloween Faux Leather Bow Tutorial
Halloween is a time of creativity and self-expression, and what better way to showcase your festive spirit than with a custom-made faux leather hair bow? In this tutorial, we'll guide you through the process of creating a traditional Halloween faux leather bow using a DIY craft cutout from Pip Supply. With just a few materials and some simple steps, you'll have a stylish accessory to add a touch of Halloween charm to your outfit. Let's get started!
Materials Needed:
- Traditional Halloween faux leather hair bow DIY craft cutout from Pip Supply
- Rubber band to secure center
- Glue gun and glue sticks
- Scissors
- Hair clip or hair elastic (depending on your preference)
- Optional: Decorative elements like rhinestones, buttons, or ribbon
Step 1: Prepare Your Workspace
Find a clean and well-lit area to work on your Halloween faux leather bow. Lay out all the materials and ensure you have enough space to maneuver comfortably.
Step 2: Cut Out the Faux Leather Bow Shape
Take the Halloween faux leather hair bow DIY craft cutout from Pip Supply and carefully cut along the outlined shape using a pair of sharp scissors. Be precise to maintain the desired shape and neat edges.
Step 3: Fold and Pinch Bow Center
Gently fold the faux leather down the center, creating a bow shape. Use a small rubber band to secure the bow in place.
Step 4: Attach Bow Center
Wrap a small strip of faux leather, typically provided in the craft cutout, around the center of the bow. Apply a small dab of glue to one end of the strip and press it firmly against the back of the bow. Wrap the strip tightly around the center, overlapping the ends, and secure the other end with another dab of glue.
Step 5: Attach the Hair Clip or Hair Elastic
Decide whether you prefer to attach a hair clip or a hair elastic to your Halloween faux leather bow. If using a hair clip, apply a generous amount of glue to the back of the bow center and press the hair clip firmly against it. If using a hair elastic, loop it through the back of the bow center and secure it with glue, ensuring it is tightly attached.
Step 6: Personalize Your Bow (Optional)
To add extra flair to your Halloween faux leather bow, get creative with decorative elements. Consider using rhinestones, buttons, or ribbon to embellish the bow. Apply glue to your chosen decorative items and place them strategically on the bow loops or center, reflecting your unique style and Halloween theme.
Step 7: Allow the Glue to Dry
Once you have completed the assembly and any optional embellishments, set aside your Halloween faux leather bow and allow the glue to dry completely. This ensures a sturdy and long-lasting hold.
Congratulations! You have successfully created a spooky Halloween faux leather bow using the tutorial and DIY craft cutout from Pip Supply. This unique accessory is perfect for adding a touch of Halloween charm to your hair, costumes, or even as a decorative accent. Get ready to turn heads and embrace the festive spirit with your handmade masterpiece.